The Admin Profile
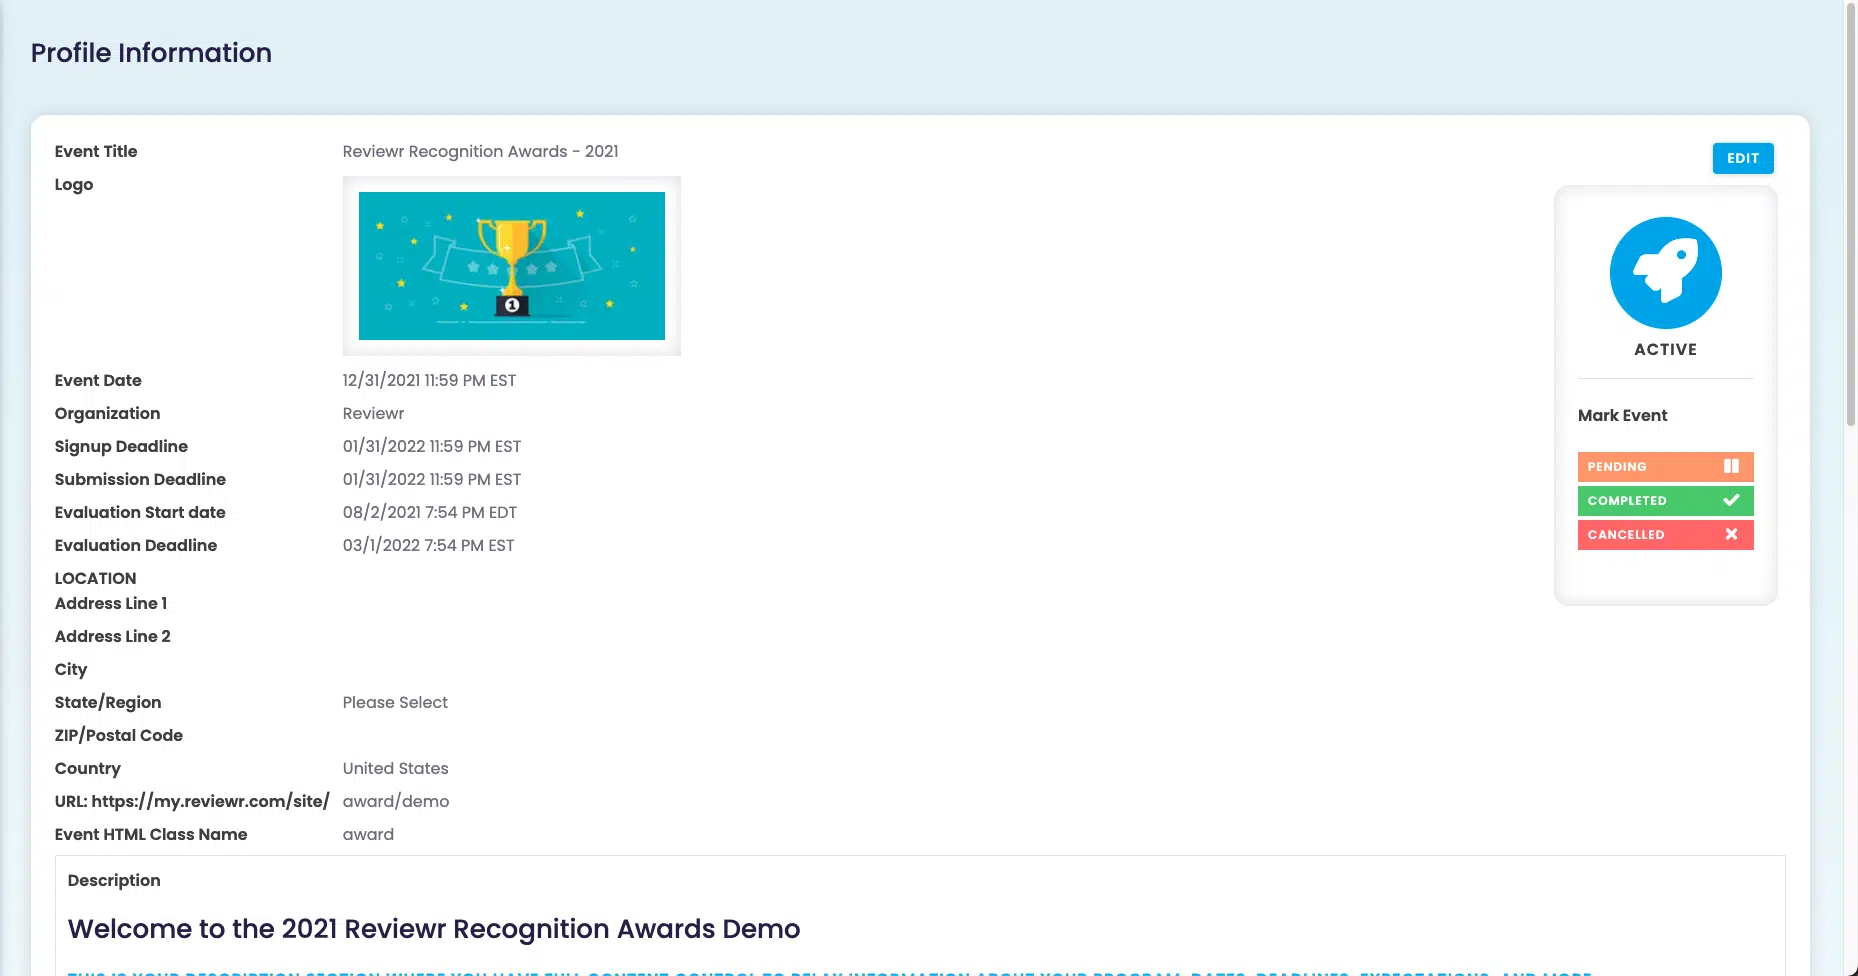
This is the Profile page. This is where you will go to change things like Event Title, Event Logo, Deadlines, Event Descriptions and Rules, and what is displayed on the microsite.
To edit anything on this page:
Choose

Editing the “Event Title” will change the name that is displayed at the top of the microsite
Upload a logo by selecting
 . The image should be 1503×180. This logo will be displayed at the top of the microsite.
 Editing the “Signup Deadline” will change the date applicants can sign up for the event till
Editing the “Submission Deadline” will change the date applicants can submit their submissions till
Editing the “Evaluation Start Date” will change when evaluations are able to be made
Editing the “Evaluation Deadline” will change when evaluations can be made till
Editing the “Description” will change what is displayed under the Description section of the microsite
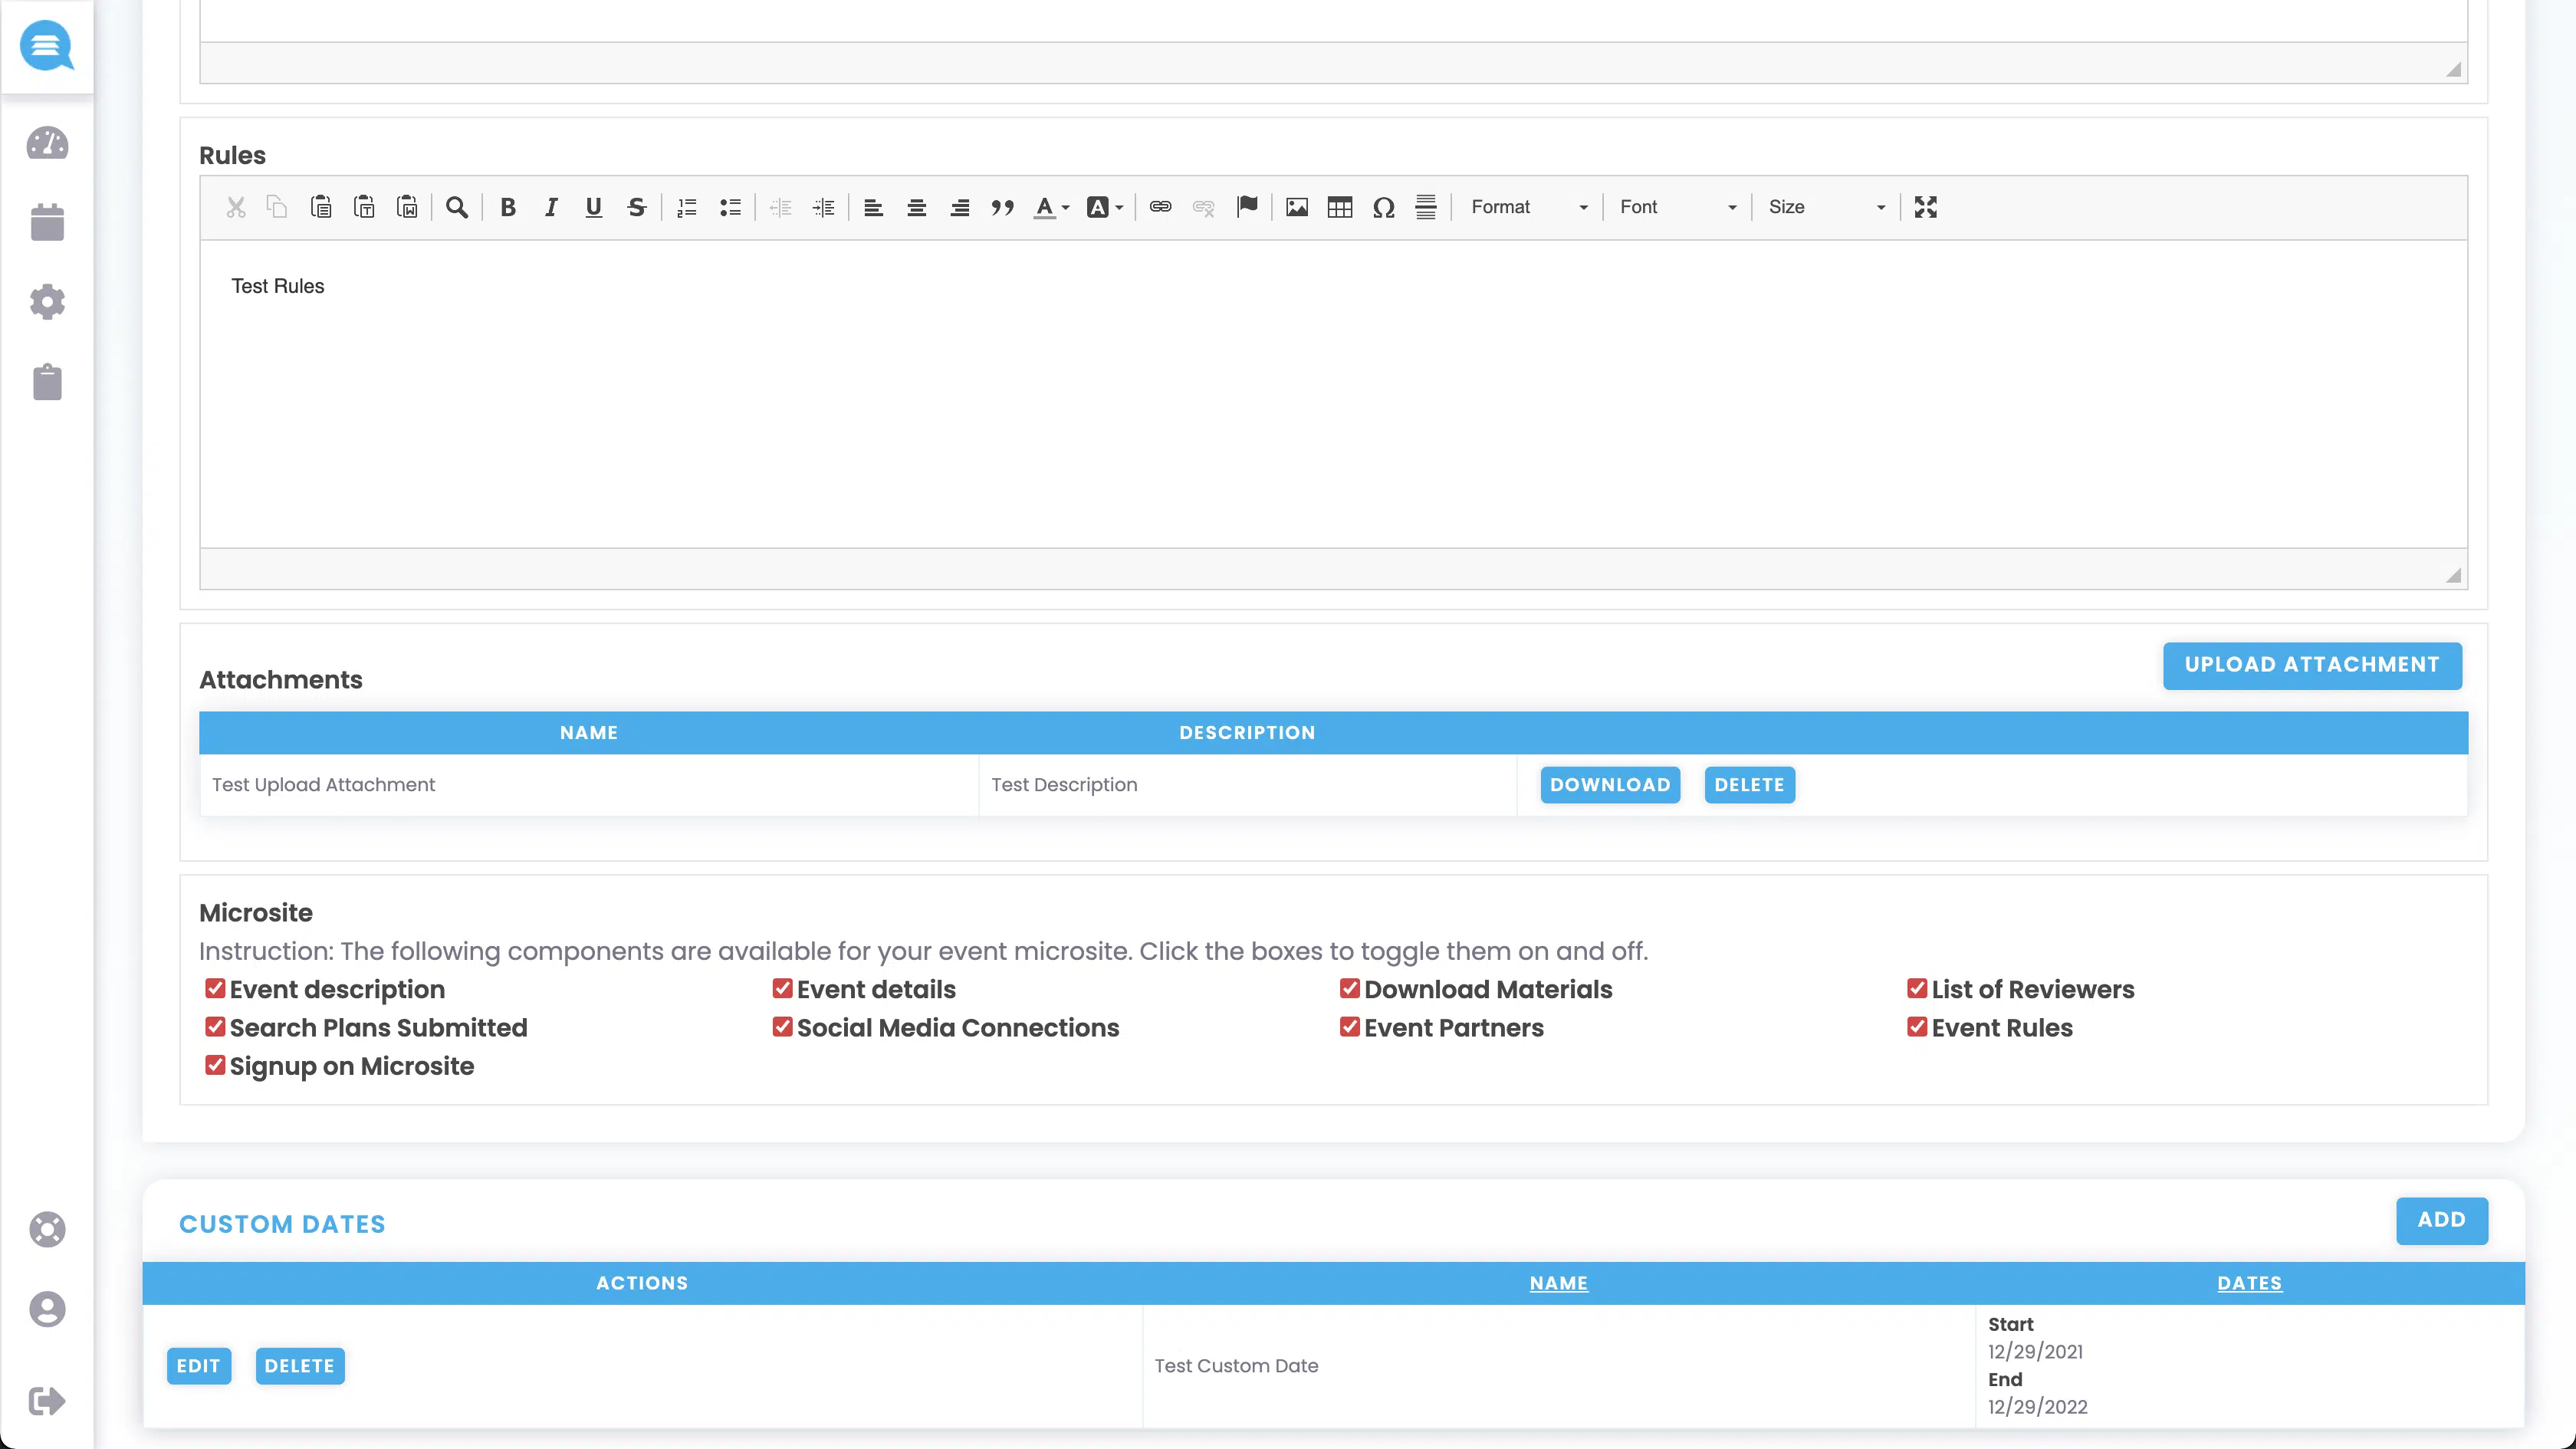
Editing the “Rules” will change what is displayed under the Rules section of the microsite
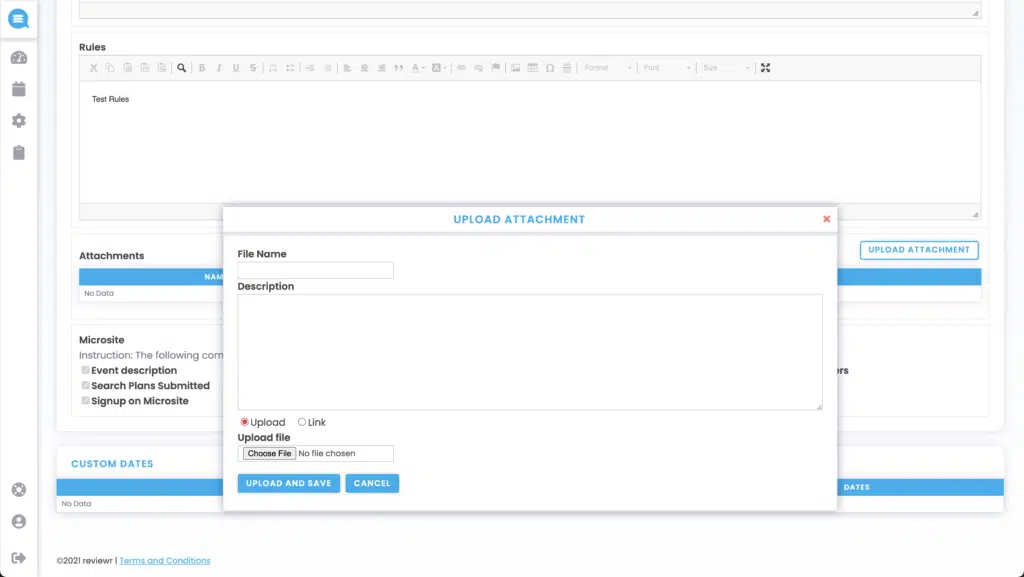
Upload attachments by selecting
 . Here you can name the attachment along with adding a description of it. You can also choose whether the attachment is a file or a link. Once you have completed everything, select
  . You can also download these attachments by selecting
  . You can delete these attachments by selecting
  .
.
Checking the boxes under the Microsite section will change what is displayed on the microsite
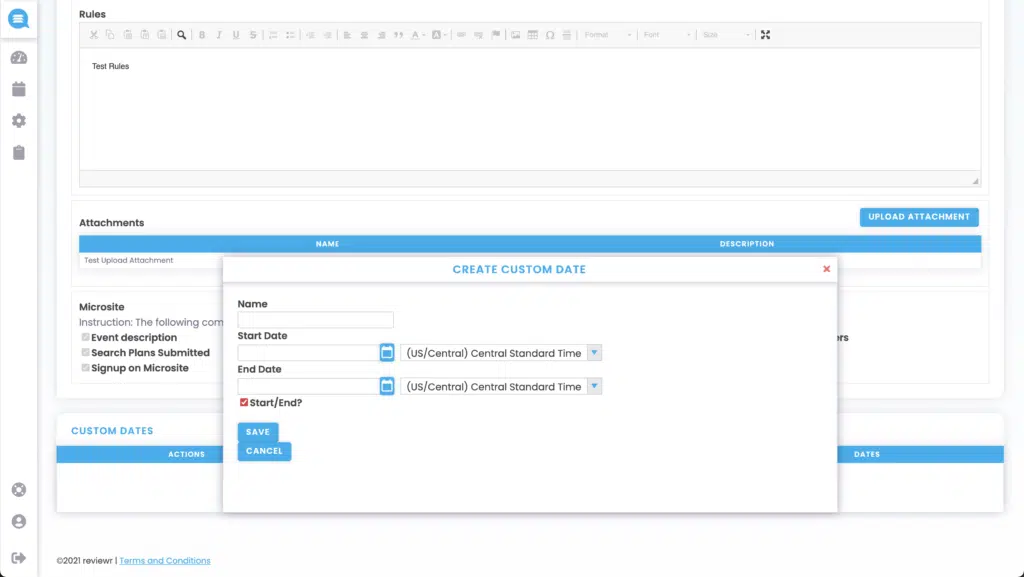
Choosing
 in the Custom Dates section will allow you to add a date to the timeline on the Dashboard. Here you will add a name for the timeline event along with a date for the event. If the event is over a period of time, select
  to input the start and end dates. You will have these same options when editing an event by selecting . You can delete custom dates by selecting