
Manage Users
Reviewer
You can search for Reviewers by Group, First Name, Last Name, Email Address, Company Name, and Status. After entering the criteria, select . Selecting
will clear out all criteria that is entered above.
– The login report shows you Reviewers First Name, Last Name, Email Address, Last Login Date, Number of Submissions, and Number of Evaluations.
– This produces a report showing First Name, Last Name, Organization Name, Email Address, Phone Number, Status, Expertise, Biography, Items, and Group.
Adding a Reviewer
Select

Here you can add the First Name, Last Name, Company, and Email Address. Entering Phone, Expertise, and Biography are optional.
Inviting Reviewers

NOTE: Before inviting your Reviewer(s), you’ll want to edit the Reviewer Invite Email under Manage Email Templates

Select the Reviewer(s) you’d like to invite

Select “Invite”. Then select “Go”
Reviewer Actions
View – This allows you to edit the settings of a Reviewer
Assign Group – This allows you to assign a Reviewer to a group. Here’s how:
Select “Assign Group”
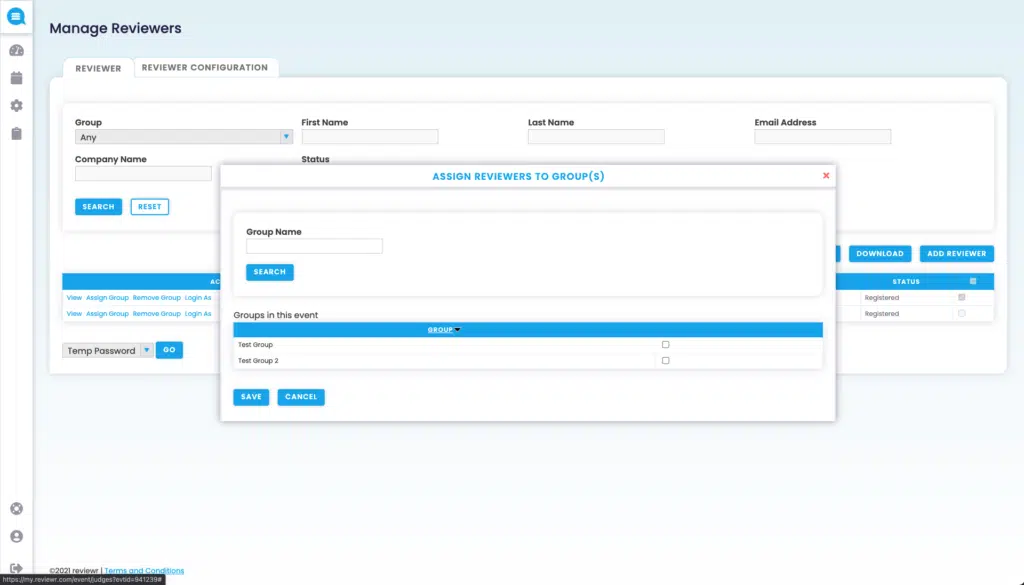
Here you can search groups by Group Name. Once you’ve entered the criteria, select
Once you’ve identified the group you want to assign the Reviewer to, select the
next to the group.
Select
Remove Group – This allows you to remove a group assignment of a Reviewer. Here’s how:
Select “Remove Group”
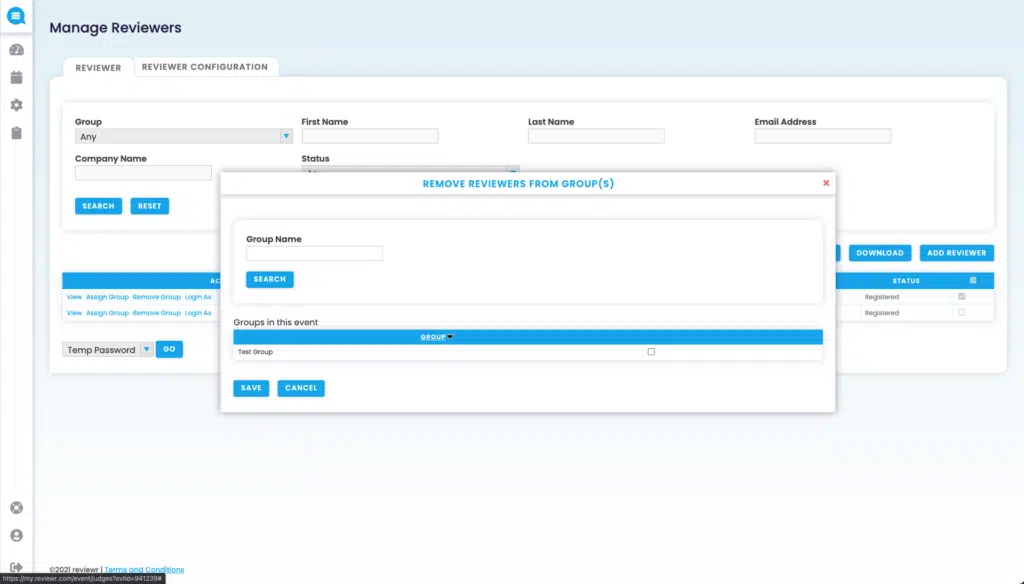
Here you can search groups by Group Name. Once you’ve entered the criteria, select
Once you’ve identified the group you want to remove the group assignment to the Reviewer, select the
Select
Login As – This allows you to login as a Reviewer. This can be useful when trying to solve a problem that you are unable to replicate with your admin account
Other Actions
These actions are available under the dropdown in the bottom left corner
Remove – This will delete the Reviewer from the event
Send Email – This allows you to send an email to Reviewer(s).
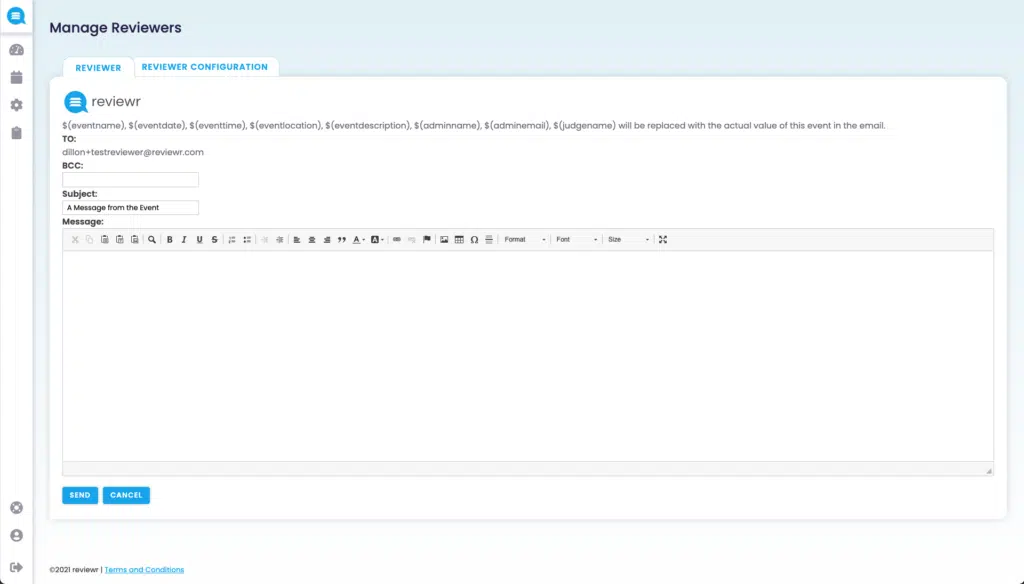
Here you’ll be able to change the BCC, Subject, and Body text of the email.
Once the email is ready to send, select
Bulk Upload Reviewers – This allows you to add a large number of Reviewers to the event by uploading a .csv file.
Once the selected action is ready, select
Reviewer Configuration
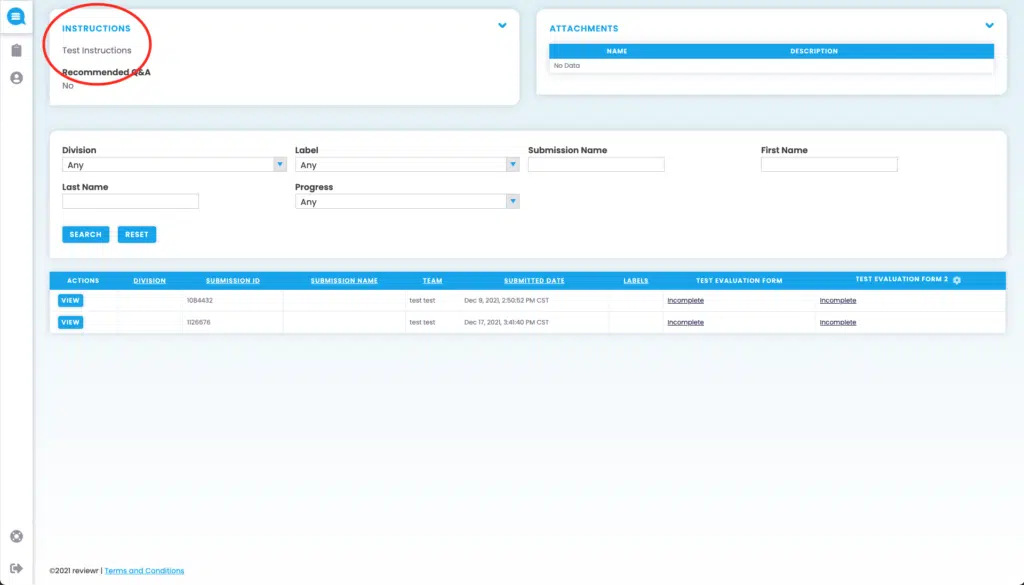
Here you can edit the Instruction to Reviewers, Resources, and Recommended Q&A.
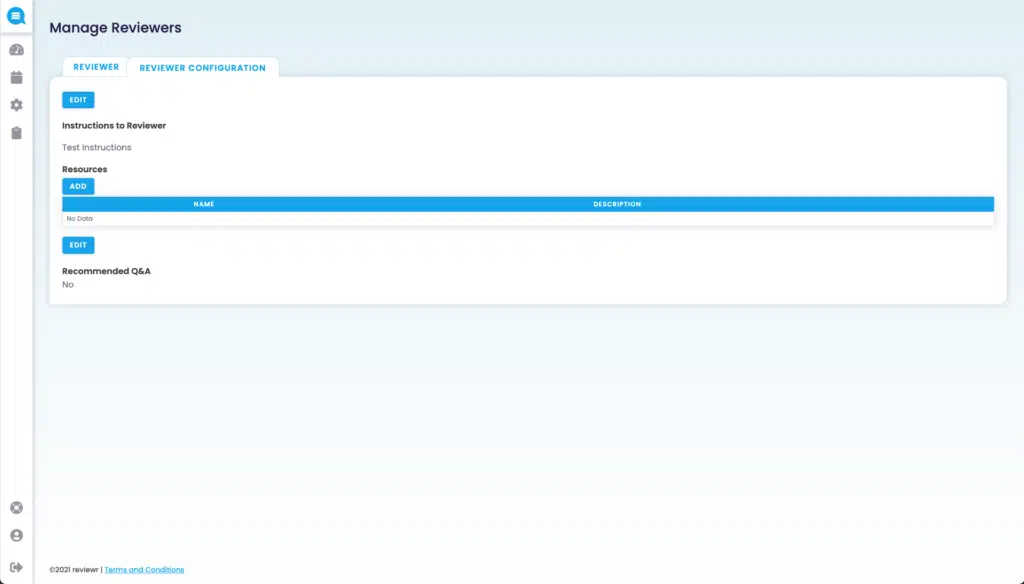
Instructions to Reviewers – These appear upon login for the Reviewer. Here’s how to add/edit this text:
Select
at the top
Once the desired text has been entered, select
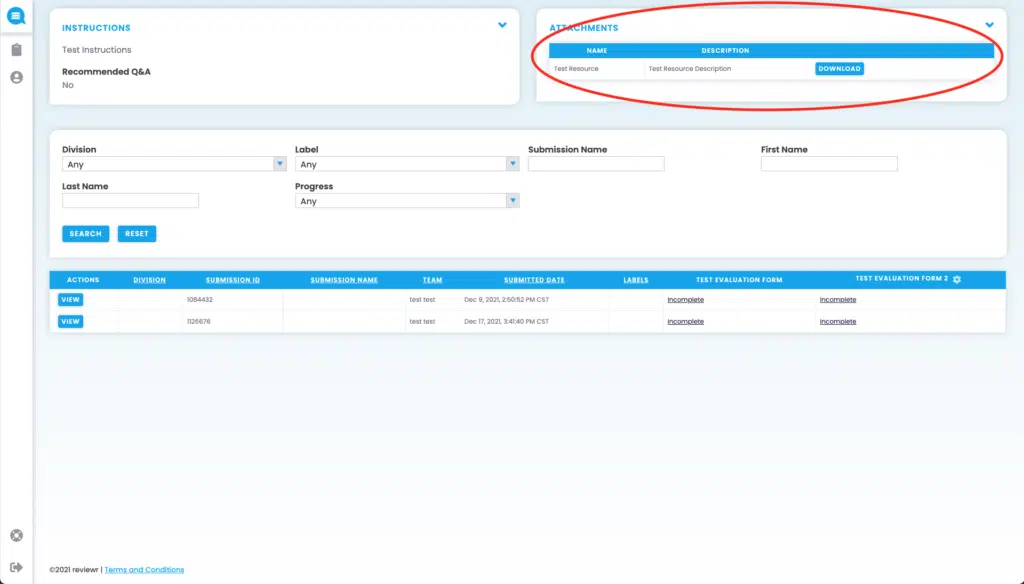
Resources – These are items that Reviewers will be able to download upon login. Here’s how to add resources:
Select
Enter the File Name, a Description for the resource, and whether it is an Upload or Link.
When finished, select
If you would like to delete an existing resource, select
Recommended Q&A – This is where you can put questions that might be asked by Reviewers and the answer in order to assist in the review process. Here’s how to add/edit this text:
Select
Once the desired text has been entered, select